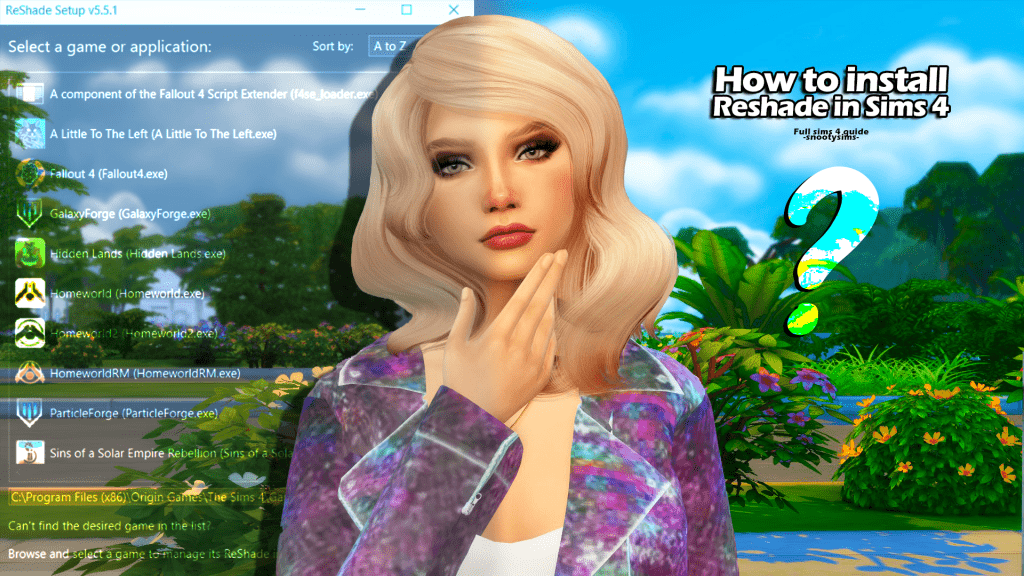
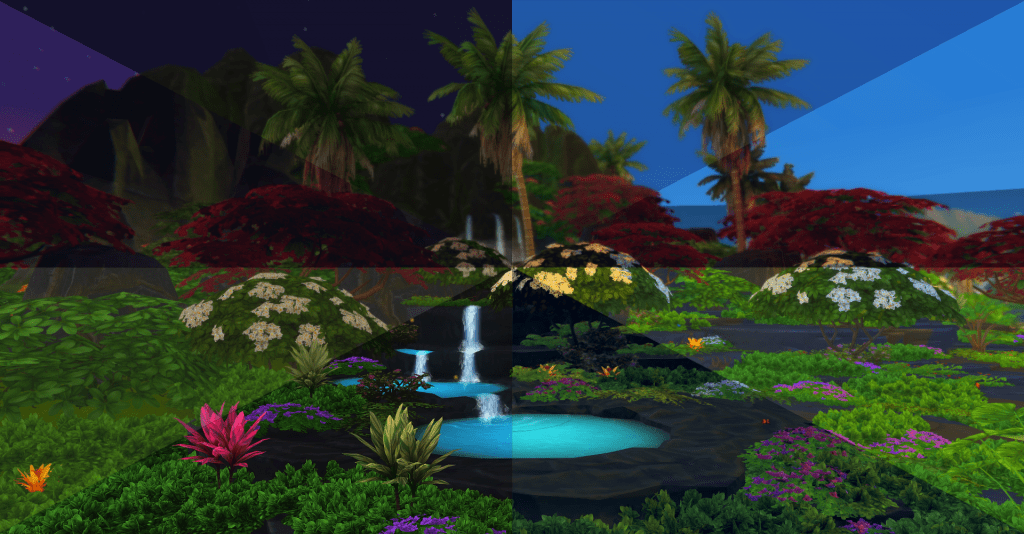
Reshade for the Sims 4 is a powerful way to completely shift the way your game looks. Whether you’re aiming for a girly fashion shoot, a dark storytelling series, warm and cozy postcard pictures, or you just want to tweak the way the game looks when you’re playing it, there’s a preset out there for you. Continue reading to learn how to install reshade in Sims 4 in a few simple steps!

Throw Some Serious Shade At Your Sims!
Reshade is a post-processing utility that places an overlay over your favorite games, adding/changing effects such as color saturation, brightness, hue, depth of field, and more. It can completely metamorphosize the way your game appears, making it look more realistic, graphically superior, whimsical, gritty, or any other number of styles based on the input you give it. It’s a very powerful tool!

Although reshade is considered a mod, because it’s a seperate injector it doesn’t go through the traditional mod installation process. This means that you can’t extract it, copy-paste it to your Mods folder, and be done with it. Instead, you’ll need to follow specific steps to make it work.
Downloading & Installing Reshade for the Sims 4
To get started, visit the Reshade website and follow the links to download the executable file. Make note of the file version as not all presets with work with all versions, and you may need to navigate to an older iteration to get your desired preshade rest to work.
Once you’ve downloaded the reshade mod, here’s how to install it:

- Extract and launch the “Reshade.exe” file. Depending on where your browser downloads the mod, you can find it in different places. For most people, this will simply be the Downloads folder which can be reached through C:\Users\YOUR COMPUTER NAME\Downloads.
- Select your game. Since Reshade can be used on many games other than the Sims 4, you’ll need to select the right game. Find the location of where your Sims 4 game is installed; for most people it’s in C:\Program Files (x86)\Origin Games\The Sims 4\Game\Bin. Here you will need to select the .exe version.
- Choose Direct3D 9. Once you select your game, you’ll be asked to choose between Direct3D 9, Open GL, Vulcan, and the rest. The Sims 4 uses only Direct3D 9, so you only need to select that.
- Select all the effects you want for your game. In this list, you should select ALL of the effects if you want to significantly increase the options you have for changing the look of the Sims 4. Because of how intense some of the effects can be they may bog down slower machines when running, but if you want to get the full benefit of Reshade you should select all options.
- Click OK a couple of times and download everything. Here the program will work on its own to download everything it needs for the selected options. This process shouldn’t take more than 5 minutes.
- Download & install some presets. Once extracted, copy the downloaded preset(s) into the same C:\Program Files (x86)\Origin Games\The Sims 4\Game\Bin where you installed Reshade initially. Presets must go into the Bin folder!
- If you don’t want to spend the time searching for presets, check out my list of 27 mind blowing shader mods to get started!
- Launch the Sims 4. Reshade will begin loading up and should show you its progress at the top of the game screen. You can still click menu items behind this progress bar if you want to get the game loaded up while you wait for the injector to finish preparing.
- Select your desired preset through the Reshade program. Reshade offers a lot of options on how to configure it, and you’ll probably need to spend some time going through the menu to familiarize yourself with everything it can do. I highly suggest you do the tutorial that comes up when you first launch Reshade to at least get you acquainted with it.
- YouTuber The Bonnet Simmer has a short video tutorial on how to find & launch presets you’ve downloaded and installed. There are many other videos out there with more extensive information but if you want to get going as quickly as possible this is a good place to start, with the video clocking in at just over 6 minutes.
Tips & Tricks
Because of how powerful the Reshade utility is, navigating it can be a bit tricky when you’re first getting started. Here are some tips to help make things go as smoothly as possible:
- Be mindful of gameplay vs. photo presets. Many players use Reshade for taking in-game photos and the presets they use drastically alter the way the game looks. If you want to use Reshade during gameplay you’ll find many of the more intense presets will slow down your game and make it difficult to navigate. Use presets made for gameplay with less intense effects for the smoothest experience.
- Map shortcut keys for easier use. In the Settings→General section of the Reshade menu you can set keys for actions such as toggling your preset on/off, cycling through all preset options, refreshing effects, etc. Using keyboard shortcuts is much easier than navigating to the overlay menu every time you want to activate or change the preset.
- If you’re like me and play primarily with your computer keyboard make sure not to map any shortcuts to keys you already use in-game for other actions! For example I use the “home” key to bring up walls, which is also the key that toggles the overlay menu. Changing that to a different key will prevent the menu from popping up every time I want to raise my sims’ walls.
- Take the right screenshots! Using the “C” key in-game will take photos with the in-game camera, and it doesn’t copy the preset effects to the image. In order to get the effects to show up in your photos you want to use PrntScrn key. Reshade will automatically save these screenshots in the C:\Program Files (x86)\Origin Games\The Sims 4\Game\Bin folder where everything else is installed. You can change the save location in the Settings menu.
- Reshade will usually be on by default when you launch the game, so make sure to change to a gameplay-friendly preset before quitting out so the next time you launch the Sims 4 it doesn’t look too distorted.

Conclusion
Reshade for the Sims 4 is a powerful way to completely shift the way your game looks. With a little bit of preparation & knowledge you will be a Reshade master in no time, bringing fun & funky effects into the world of the Sims!


Hi, I got a Question. This was a tutorial for windows 10 I think. Is it different when you use Windows 11 or is it just the same?
Hi Leo, yes, this guide is for Windows 10. I however use Windows 11 and have it installed – it works perfectly fine! 😉
This tutorial is absolute shit. No spacing, no screenshots, nothing. The program doesn’t even work on windows 11
This piece has multiple screenshots and is formatted to be easy to follow. Looks just fine to me on PC and on mobile, maybe you’re using an older browser or your connection was bad when loading the page? Either way, your rudeness is unwarranted.